Summer in DFW is synonymous with scorching heat. But fear not, parents and fun-seekers! Ice isn’t just for chilling drinks; it’s a versatile tool for endless summertime entertainment. With a little creativity and a bag or two of ice from Emergency Ice, you can transform your backyard into a refreshing oasis of icy experiments, art projects, and sensory play.
Ready to chill out? Let’s dive into 10 cool ways to play with ice this summer:
1. Ice Cube Treasure Hunt
What You Need:
- A large container (plastic bin, baking dish)
- Small toys, coins, or other “treasures”
- Water/ice cubes
Instructions:
- Place the treasures in the container and fill with water.
- Freeze overnight, ensuring the items are completely encased in ice.
- Let kids excavate their treasures using tools like spoons, salt, or even squirt bottles filled with warm water.
Cool Tips:
- Freeze different colored water layers for a rainbow excavation.
- Use food coloring to create themed ice blocks (dinosaur excavation, pirate treasure, etc.).
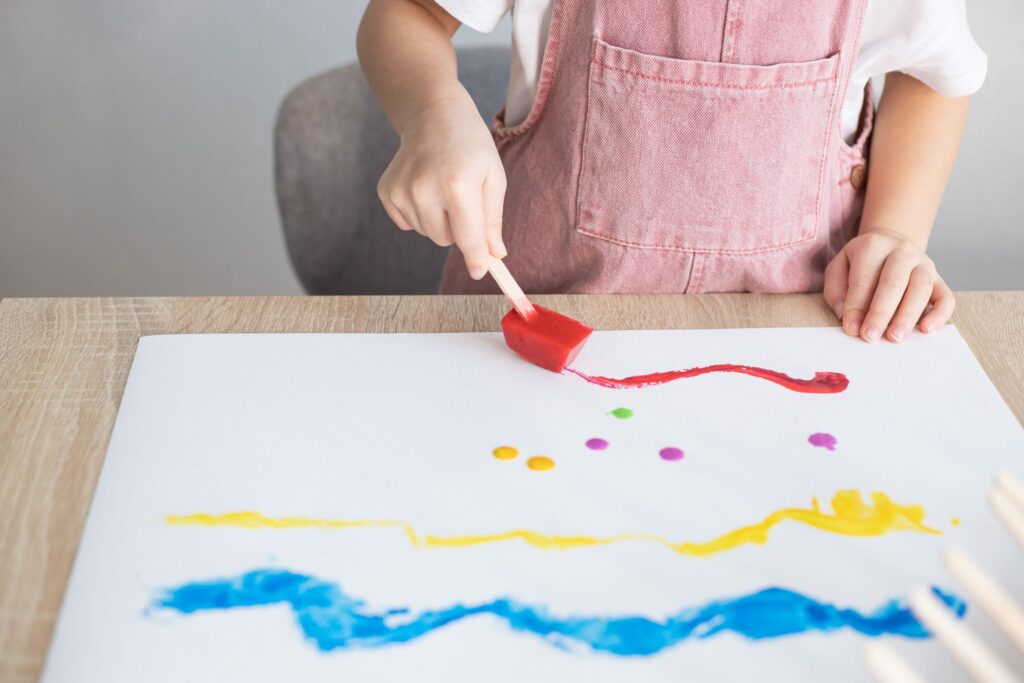
2. Ice Painting
What You Need:
- Ice cubes
- Food coloring or water-based paint
- Craft sticks (popsicle sticks)
- Paper or cardboard
Instructions:
- Mix food coloring or paint with a small amount of water in separate containers.
- Place an ice cube on a popsicle stick.
- Dip the ice cube in the colored water and “paint” on your surface.
Cool Tips:
- Create ice cube paints by freezing colored water in ice cube trays.
- Ice paint on cheap t-shirts or bandannas to make wearable art!
3. Ice Volcano
What You Need:
- Baking soda
- Vinegar
- Small plastic bottle or cup
- Play-Doh or clay
- Emergency Ice
- Food coloring (optional)
Instructions:
- Mold the Play-Doh around the bottle to create a volcano shape.
- Fill the bottle halfway with baking soda.
- Add a few drops of food coloring to the vinegar if desired.
- Slowly pour the vinegar into the bottle, and watch the eruption!
- Add ice to the “lava” for a cool twist.
Cool Tips:
- Add dish soap to the vinegar for a more foamy eruption.
- Experiment with different vinegar/baking soda ratios.
4. Ice Sidewalk Chalk
What You Need:
- Cornstarch
- Water
- Food coloring
- Ice cube trays
- Craft sticks
Instructions:
- Mix cornstarch and water to create a paste.
- Divide into separate containers and add different food colors to each.
- Pour the mixture into ice cube trays, insert popsicle sticks, and freeze.
- Once frozen, use the ice chalk to create vibrant sidewalk art.
Cool Tip:
- Use muffin tins to create larger pieces of ice chalk.
5. Icy Sensory Bins
What You Need:
- Large bin or container
- Emergency Ice
- Variety of toys and objects (plastic animals, cars, scoops, funnels, etc.)
Instructions:
- Fill the bin with ice.
- Add toys and objects for kids to explore, scoop, and play with.
Cool Tips:
- Create themed sensory bins (ocean, arctic, etc.).
- Add bubbles for extra fun!
6. Frozen Flowers
What You Need:
- Flowers (edible flowers are a bonus!)
- Ice cube trays or other molds
- Water
Instructions:
- Place flowers in ice cube trays or molds.
- Fill with water and freeze.
- Pop out the frozen flowers and enjoy their beauty as they melt.
Cool Tips:
- Use different types of flowers for a variety of colors and textures.
- Add fruit slices or herbs to the ice for extra flair.
7. Ice Boat Races
What You Need:
- Ice cubes
- Small sails (construction paper, fabric scraps)
- Toothpicks or skewers
- Large container or kiddie pool filled with water
Instructions:
- Insert toothpicks or skewers into the ice cubes to create masts.
- Attach the sails to the masts.
- Place the boats in the water and blow (gently!) to race them.
Cool Tip:
- Experiment with different sail shapes and sizes to see which boat is fastest.
8. Ice Lanterns
What You Need:
- Balloons
- Water
- Food coloring (optional)
- Small battery-powered tea lights or glow sticks
Instructions
- Fill balloons with water (add food coloring for colored lanterns).
- Freeze overnight.
- Once frozen, peel off the balloon.
- Place a tea light or glow stick inside for a beautiful glow.
Cool Tip:
- Place the lanterns around your yard for a magical ambiance.
9. Ice Cube Architecture
What You Need:
- Emergency Ice cubes
- Salt
Instructions:
- Dampen a few ice cubes with water.
- Sprinkle salt on the dampened sides and press them together.
- The salt will slightly melt the ice, allowing the cubes to fuse as they refreeze.
- Build towers, castles, or other creative structures.
Cool Tip:
- Use food coloring to create colorful structures.
Keep the Fun Flowing with Emergency Ice!
Don’t let the ice run out on your summer fun! With Emergency Ice’s convenient ice delivery service, you can always have a fresh supply on hand for all your icy adventures. Whether you need bagged ice, ice cubes, or even dry ice, they’ve got you covered.
Beat the DFW heat and make this a summer to remember – one ice cube at a time! Contact Emergency Ice today.

